
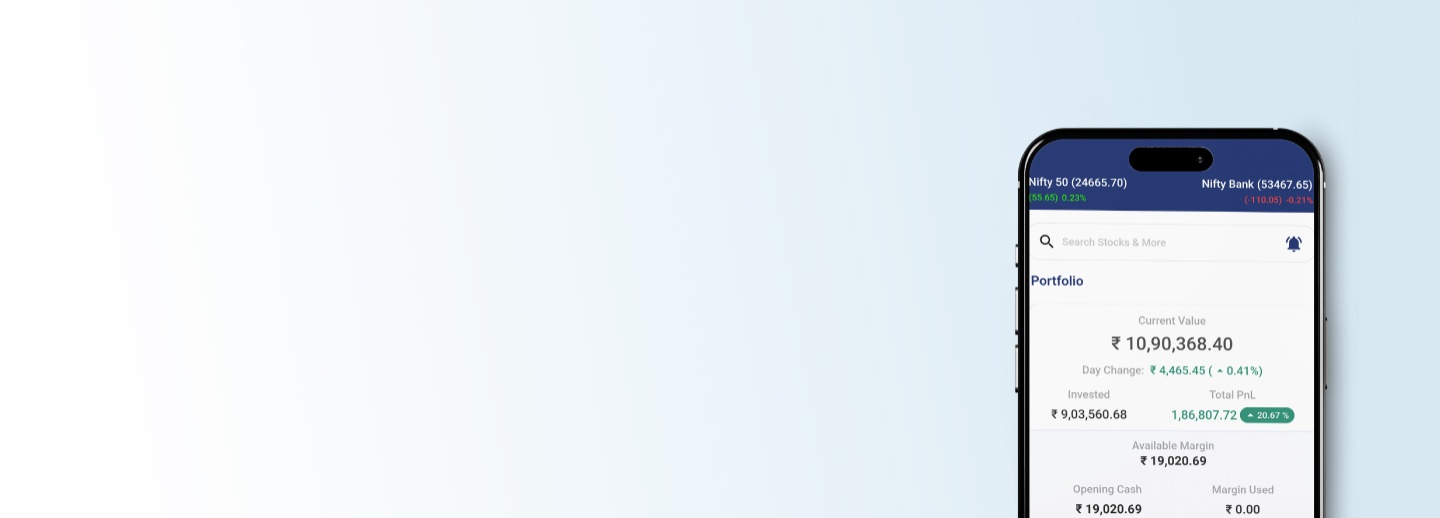
Phillip9: Trade Smart, Invest Smart
Your all-in-one solution for real-time trading, portfolio management, and seamless investment experience.
Empowering Your Financial Journey with Seamless Trading & Expert Insights
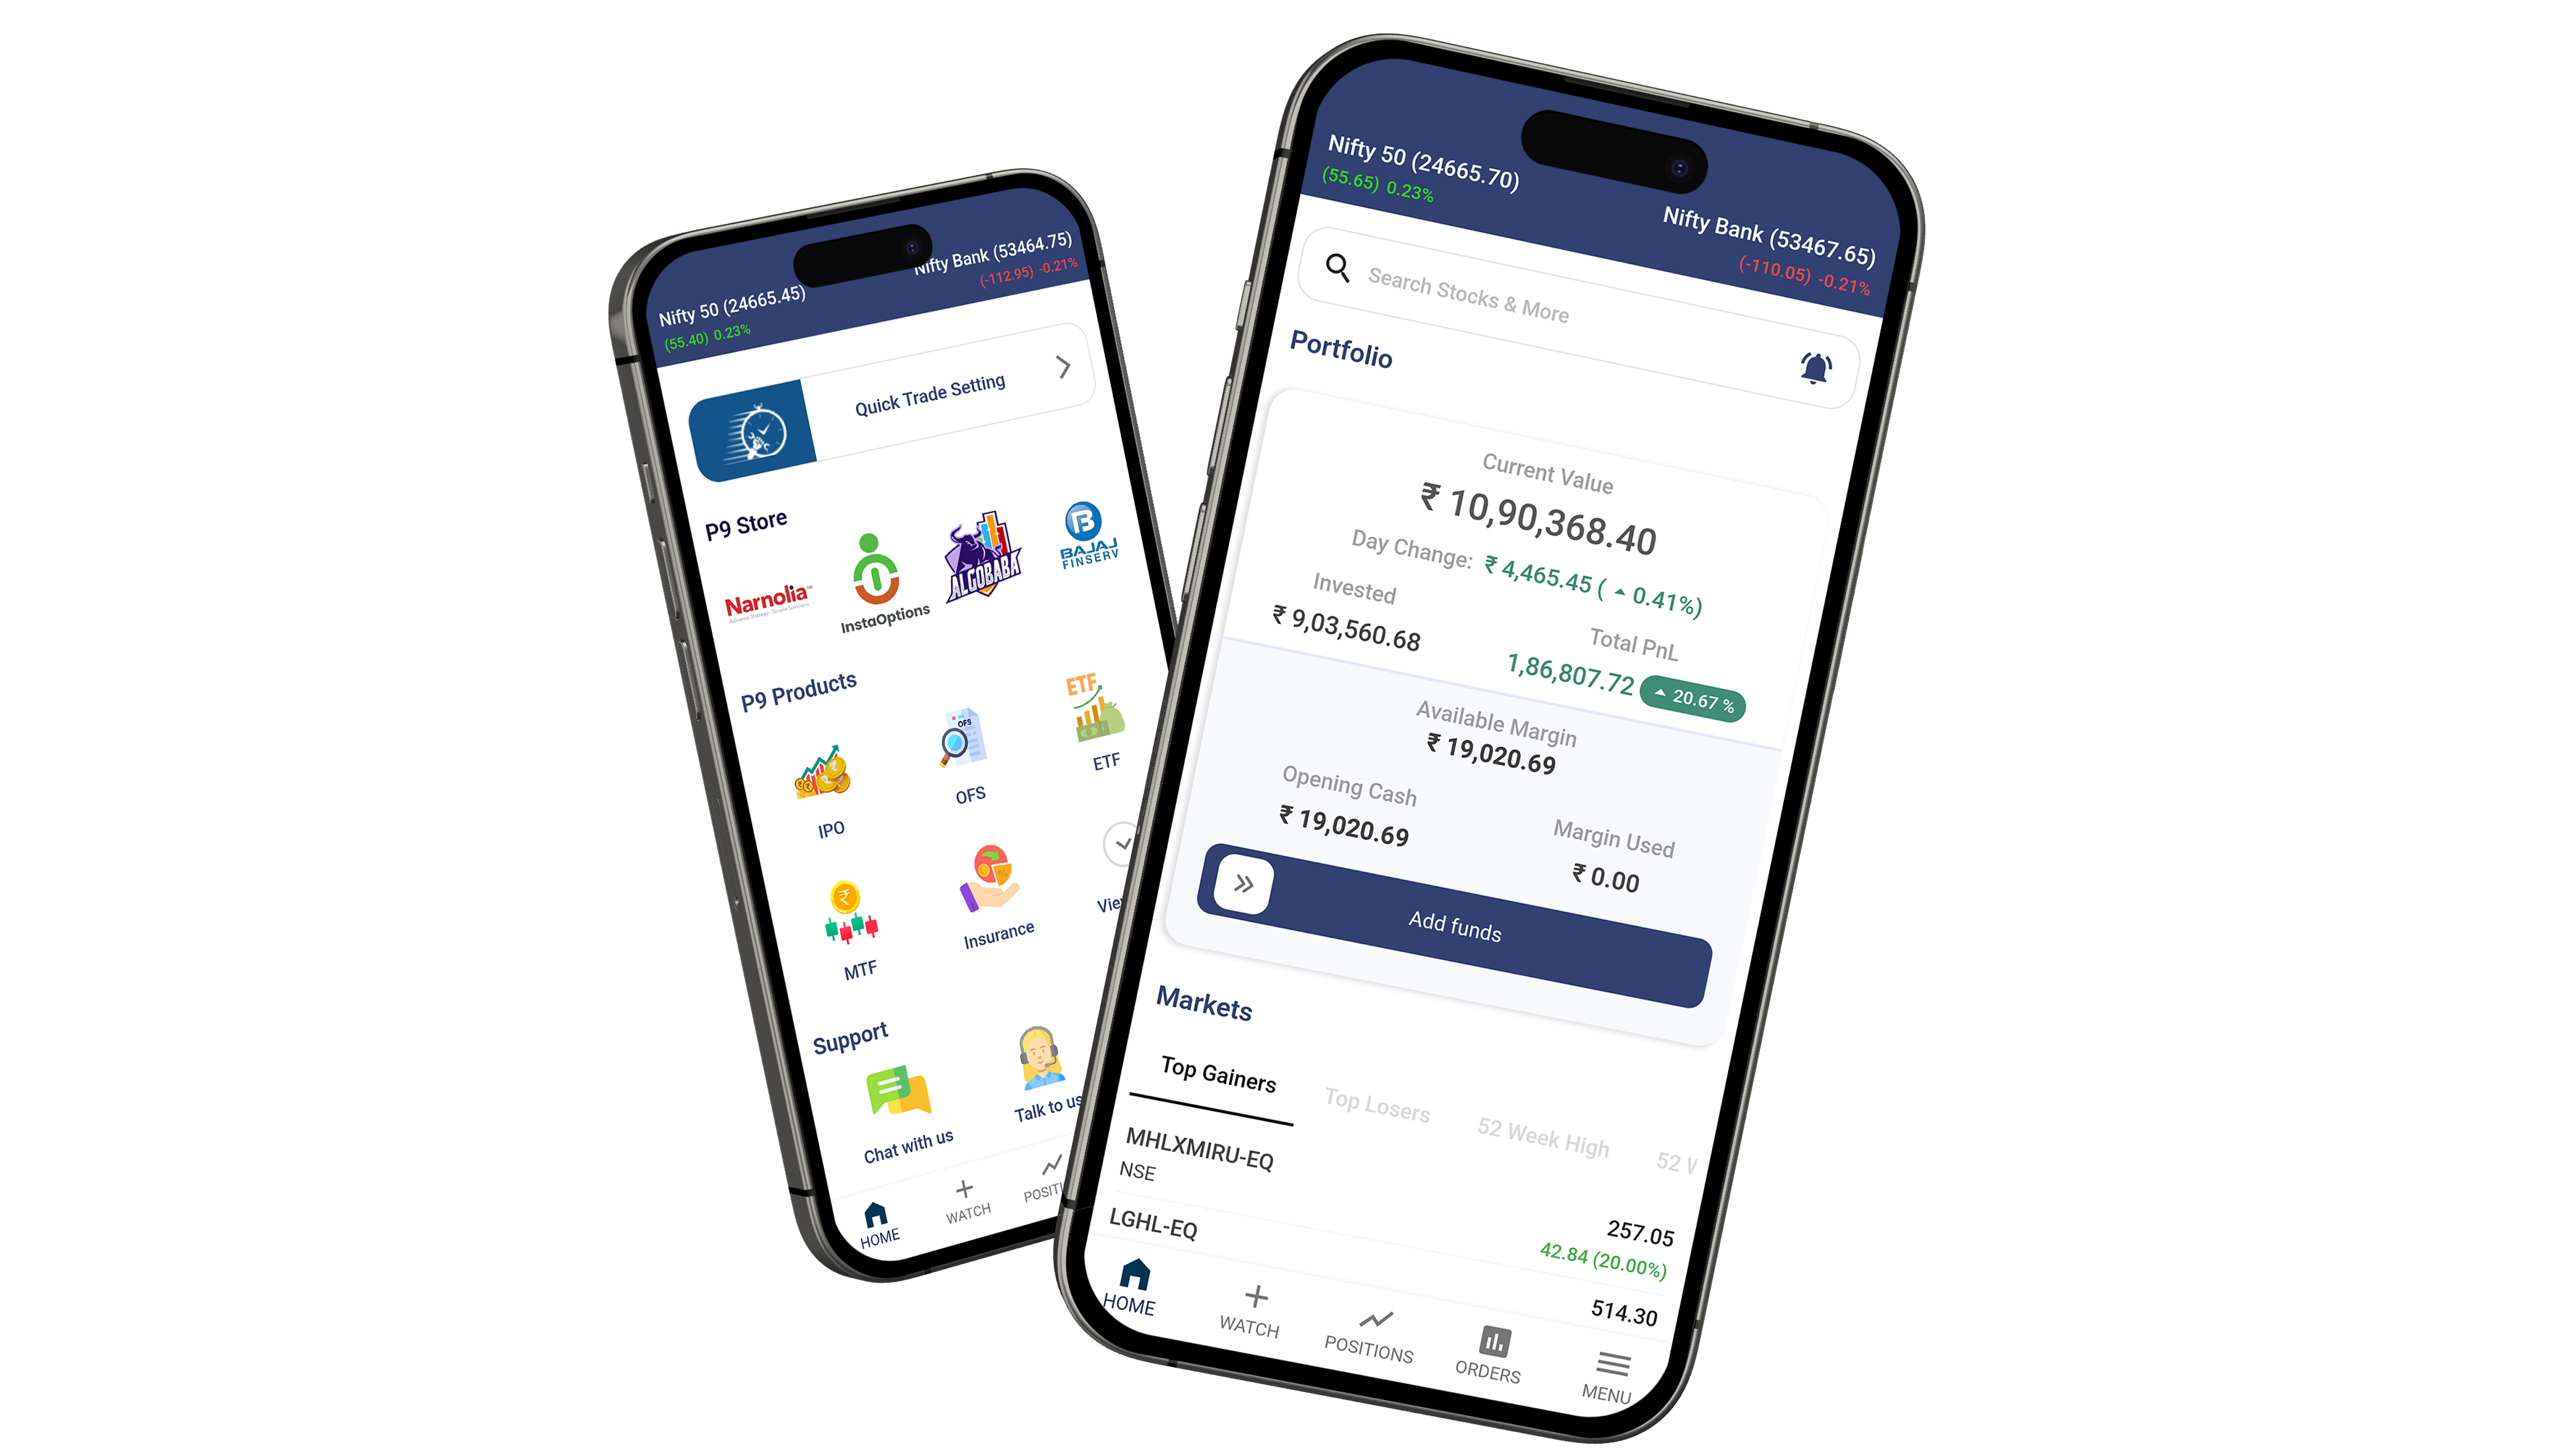
Phillip9 is a cutting-edge trading and investing app designed to bring the power of financial markets right to your fingertips. With multi-asset trading, real-time insights, and secure access, it’s perfect for both new investors and seasoned traders. Experience seamless investing and make every opportunity count with PhillipCapital’s expertise backing you. Phillip9 gives you the tools to maximize your opportunities in the financial markets.
Phillip9 Features
In an increasingly competitive market, Phillip9 stands out by offering a comprehensive suite of features that not only make trading easier but also more intuitive, secure, and efficient.
 Multi-Asset Trading in Real Time
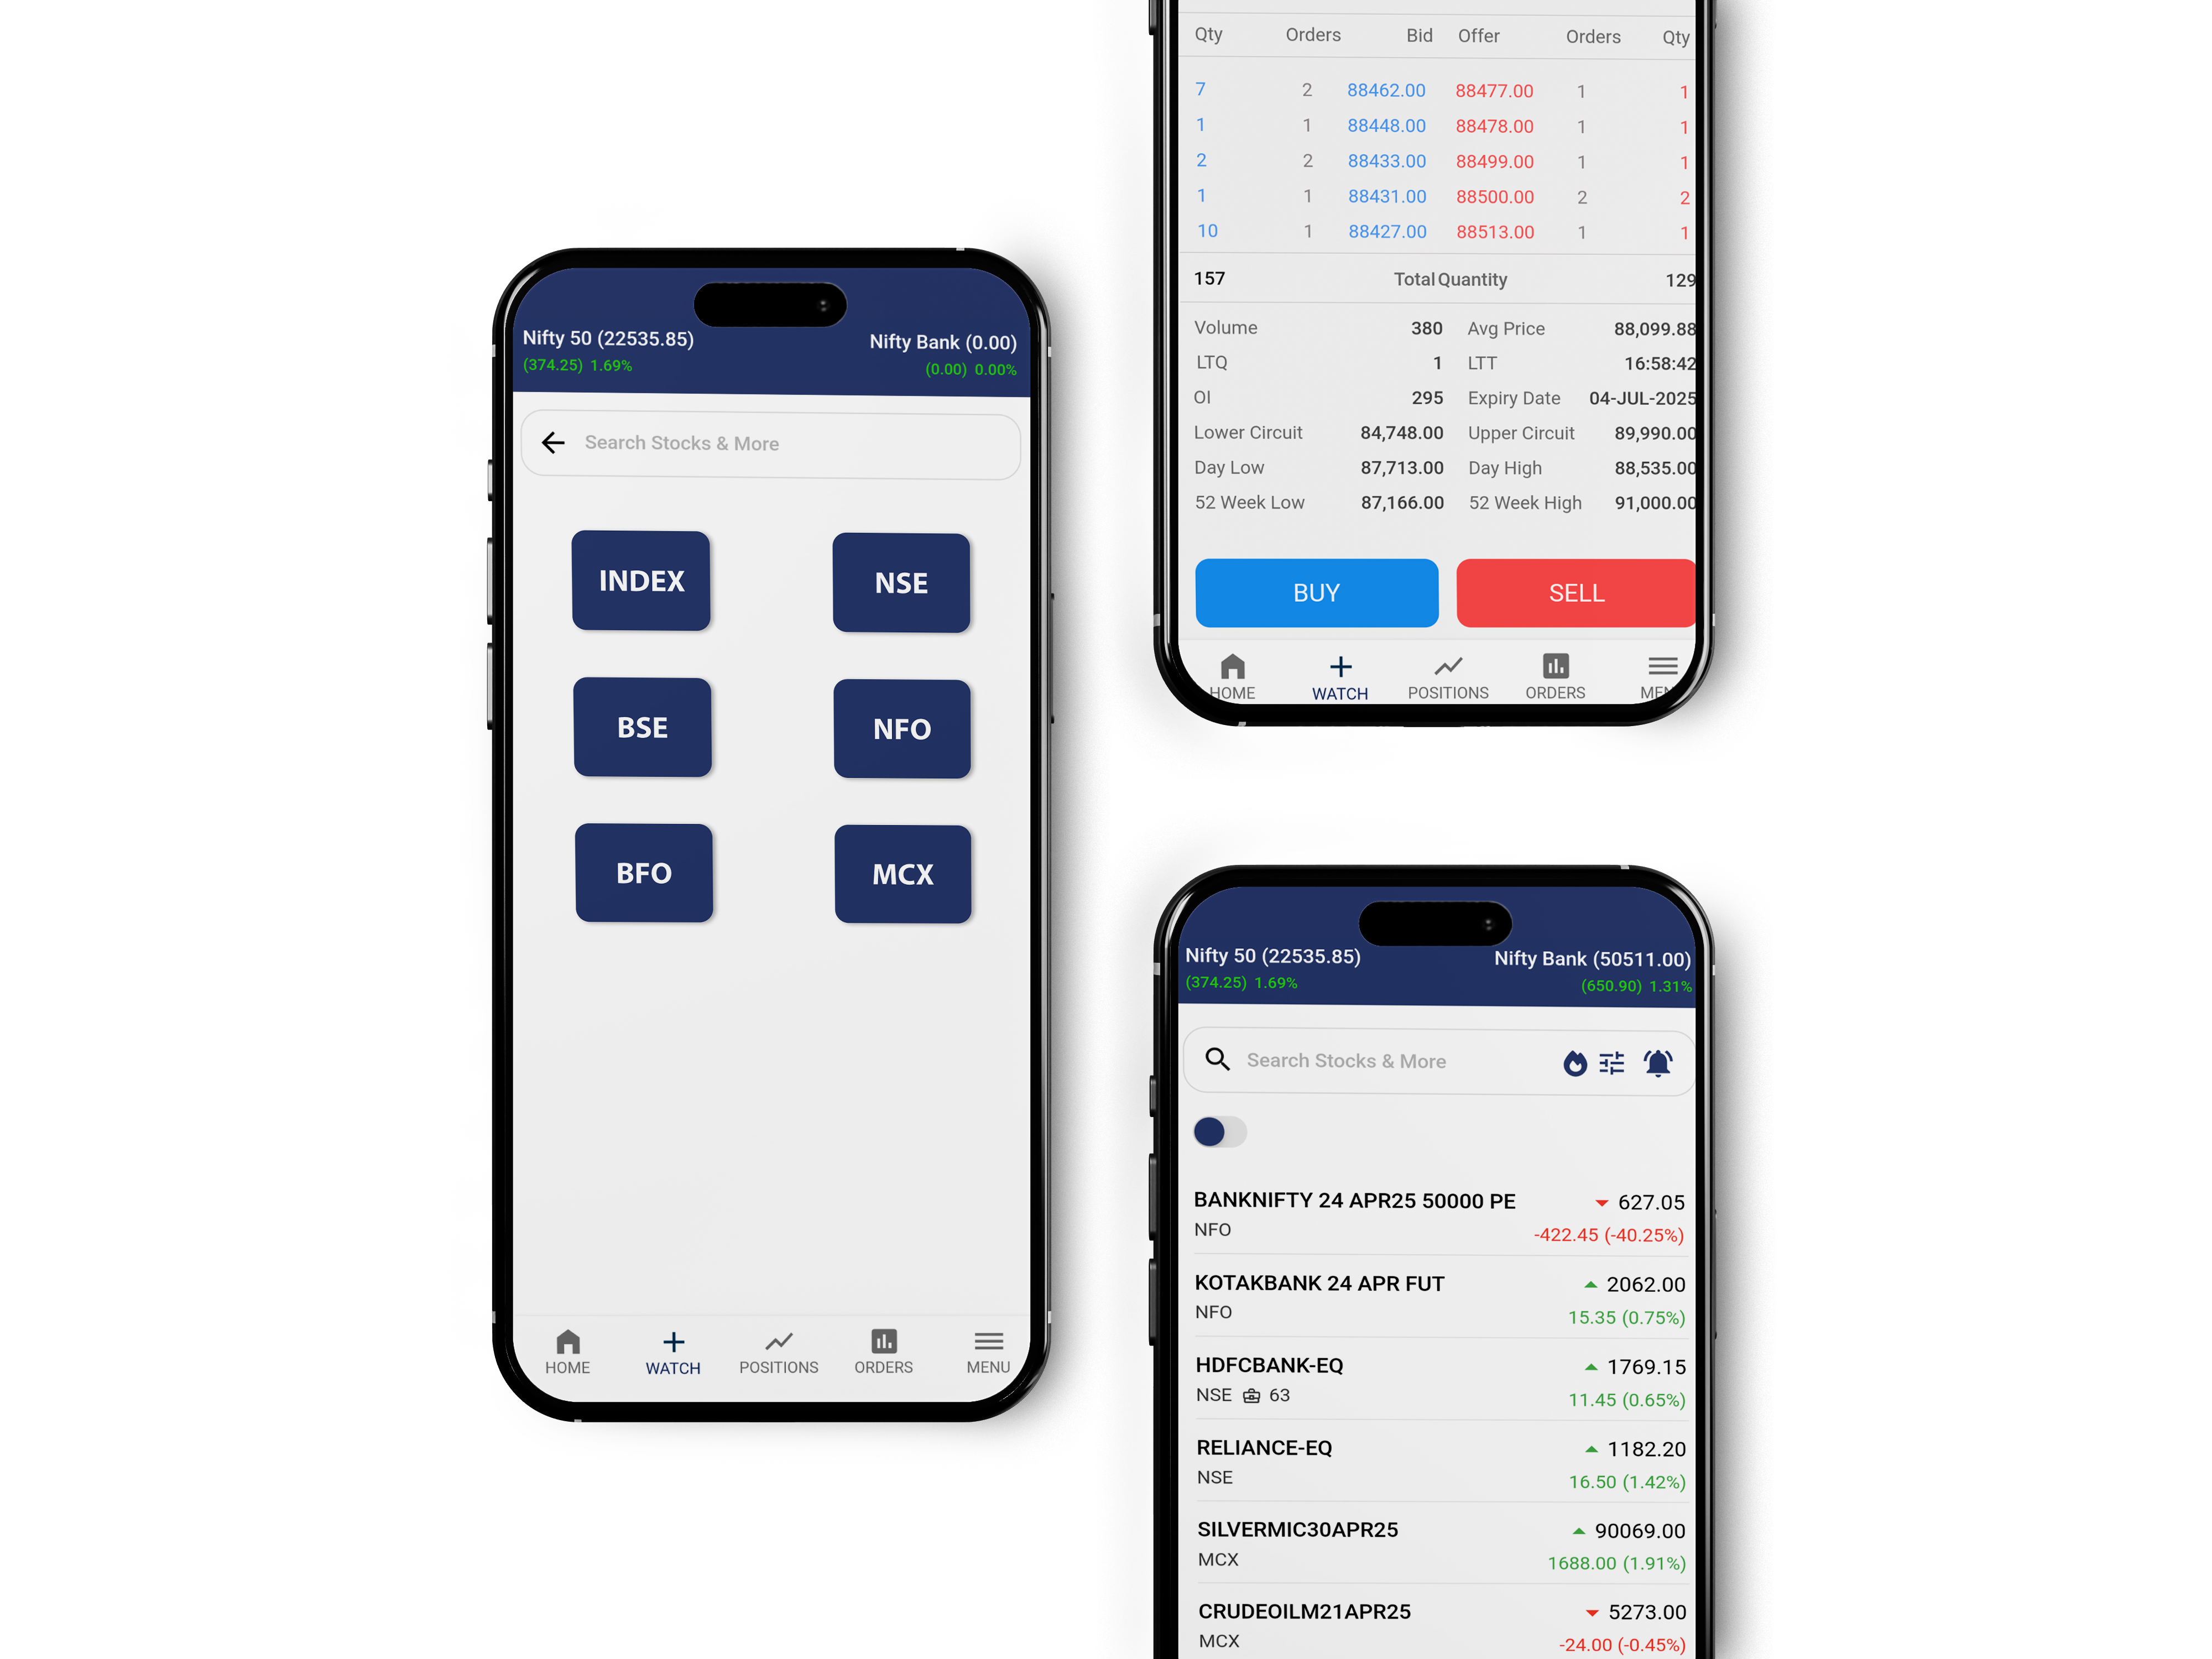
 Advanced Security Features
 Personalized User Experience
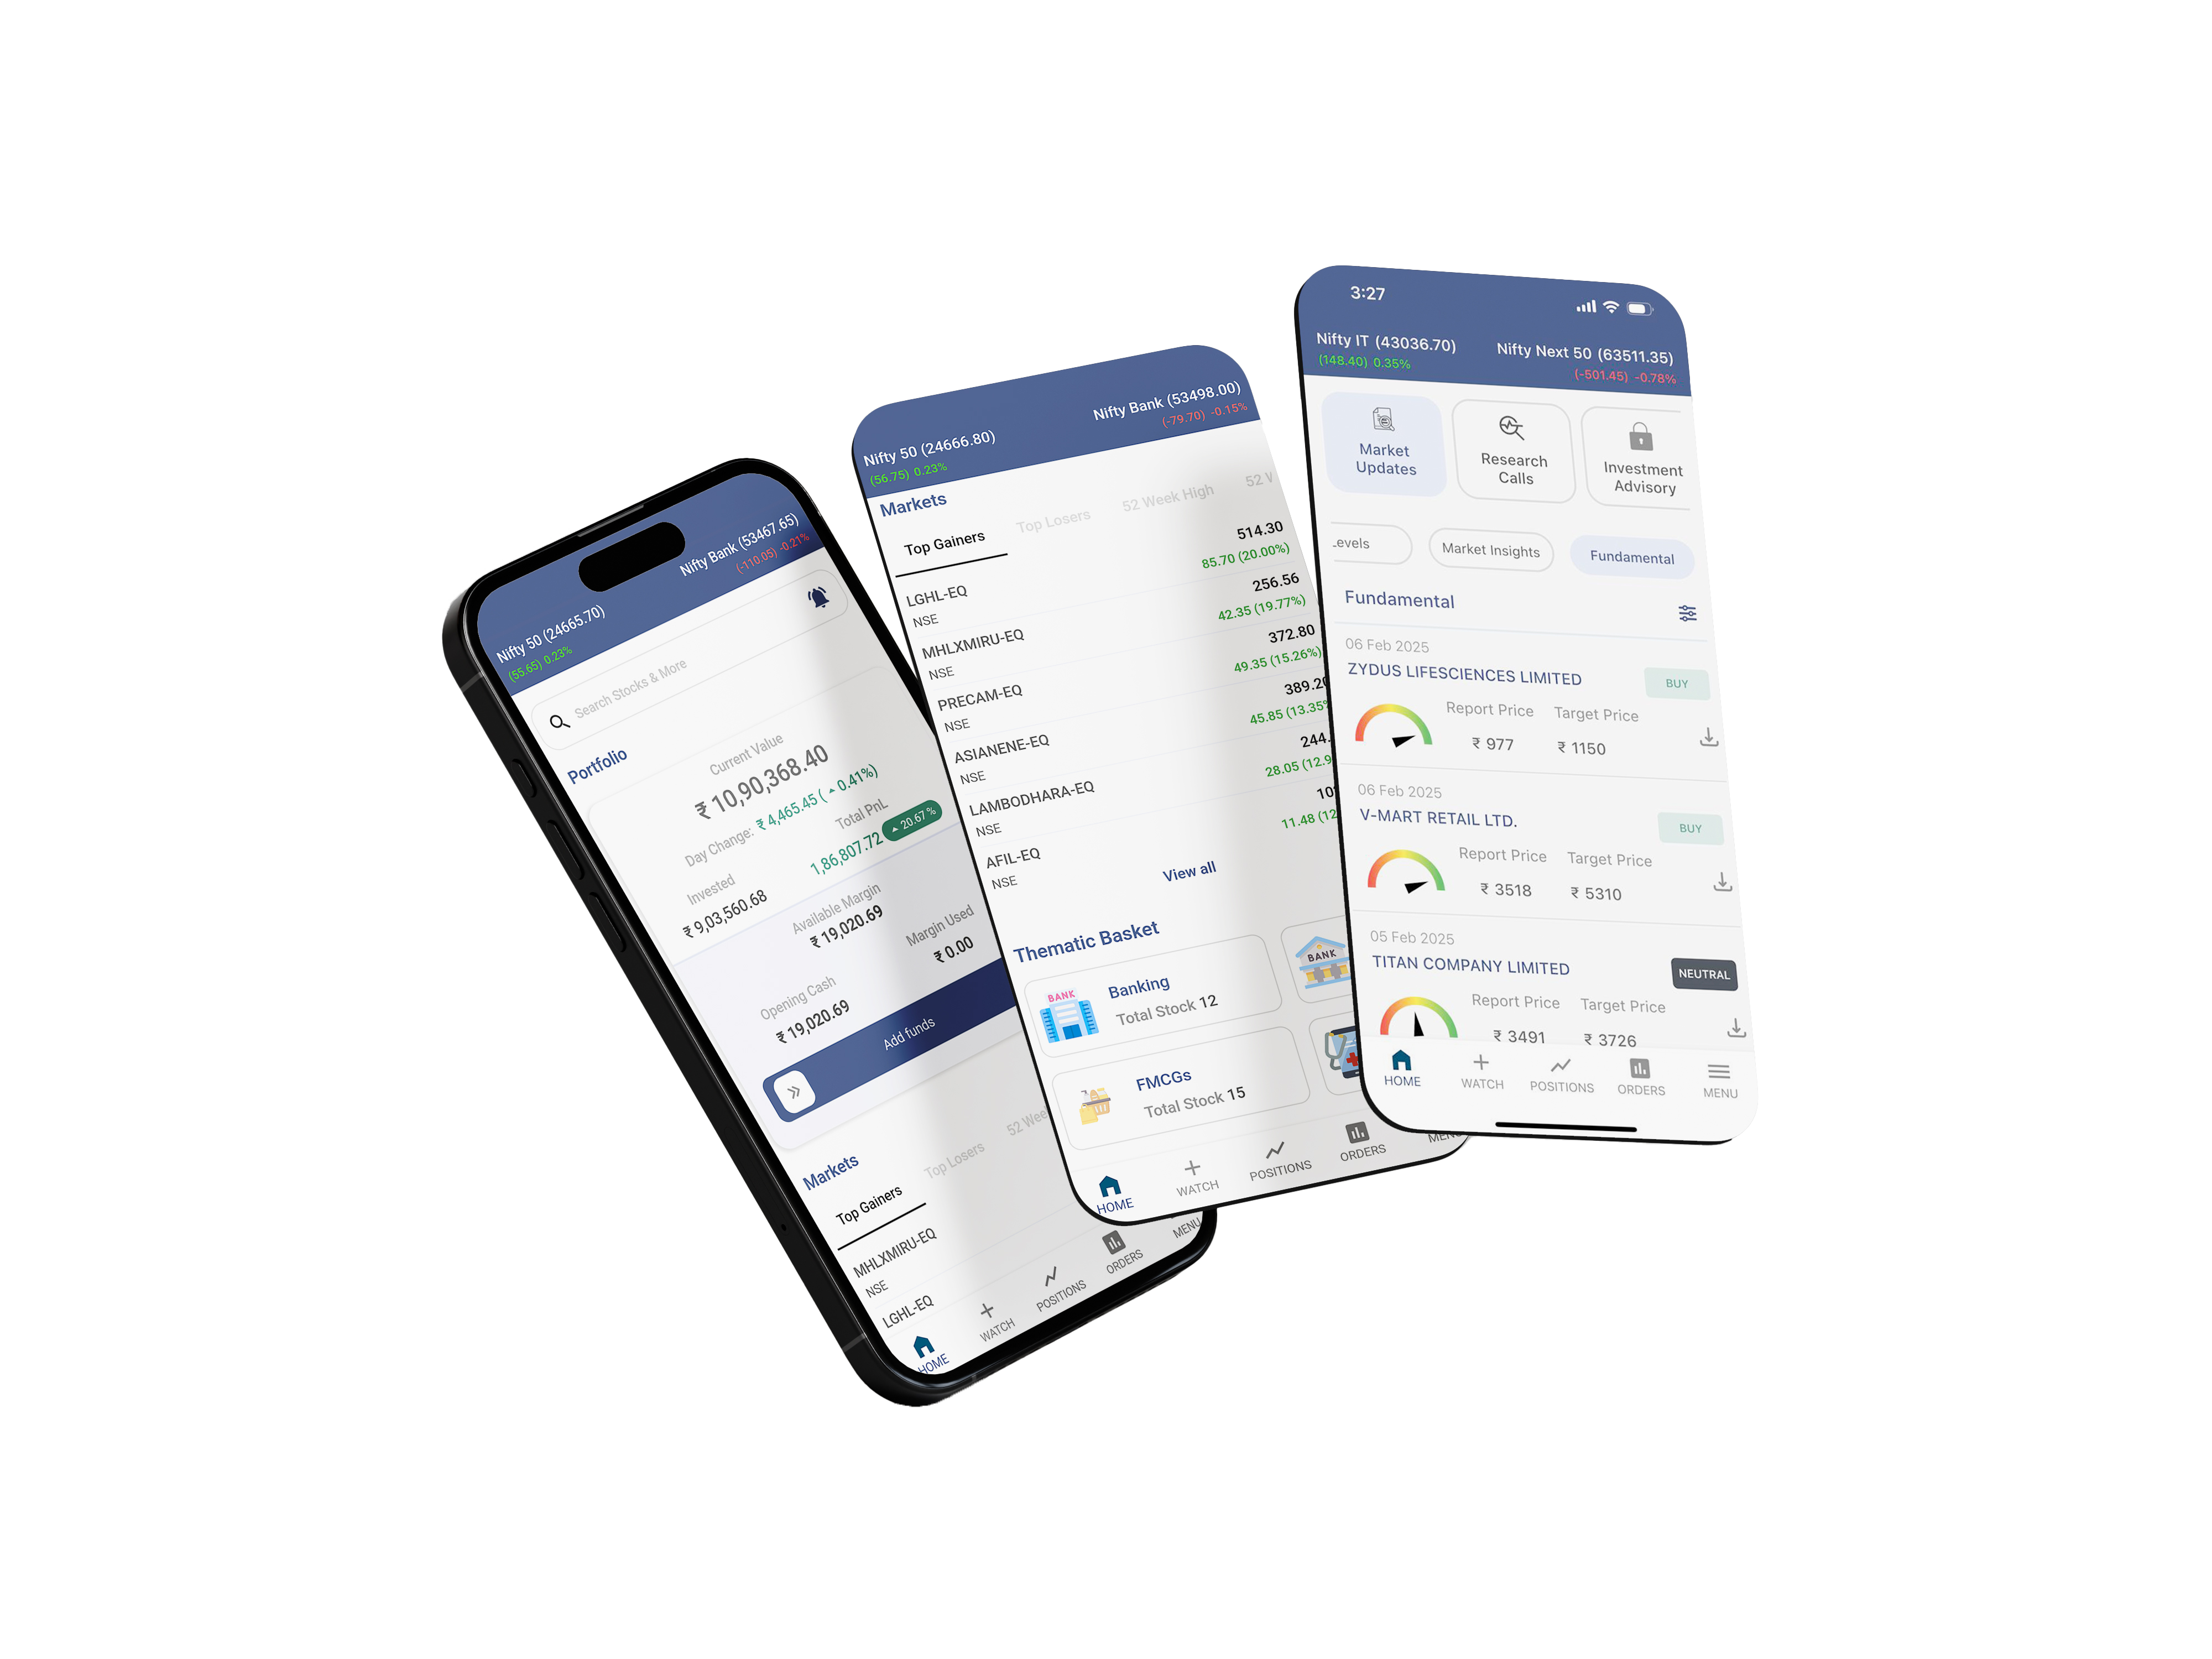
 Portfolio Management and InsightsAdvance Charting
One Platform Multiple Choices!


How to Get Started with Phillip9
Step 1
Download the App
Download Phillip9 from the Google Play Store , Apple App Store.
Step 2
Register or Login
New users can sign up to create their PhillipCapital account, or existing users can log in with their credentials.
Step 3
Fund Your Account
Use our seamless fund transfer feature to fund your trading account and start trading immediately.
Step 4
Start Trading/ Investing
With real-time market data and powerful tools, you're ready to take control of your trading and investments.
Open Demat Account
Choose from a Diverse Range of Investment Products to Build a Stronger Financial Future.
Frequently Asked Questions

Trade Anytime, Anywhere
Investing made simple, smart, and fast—right from your pocket.
Trade Anytime, Anywhere
Investing made simple, smart, and fast—right from your pocket.